Saturday, August 29, 2015

Modern Rustic End Tables

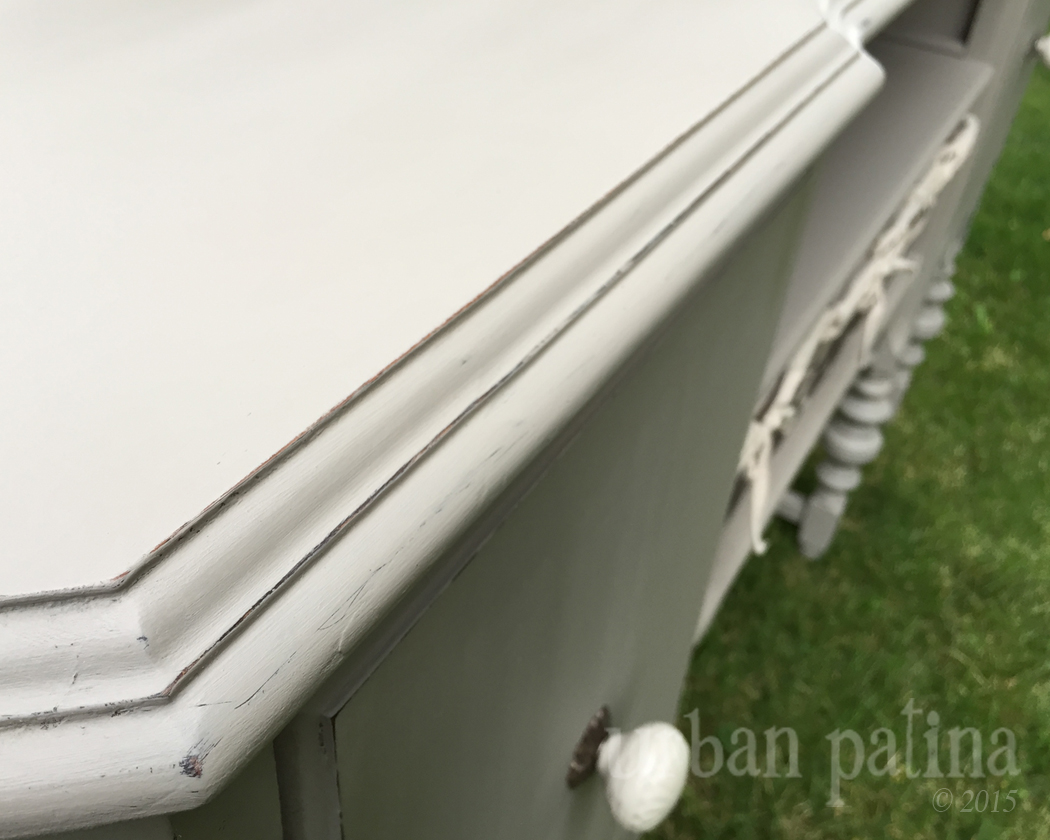
Leather tops on tables.

You know the ones...they only looked good until someone spilled a drink or burned a hole in the leather. Well my latest project was a textbook case of yucky leather tables in dire straits and in serious need of a makeover.


 I started by removing the four leather inserts on the end tables.

What was I left with?

A clean slate and lots of potential.


When I removed the leather, I was left with a slight dip on the tops. I've seen a lot of makeovers where people use yard sticks to resurface the tops and i thought i could possibly do that. But I really wanted a cleaner look, something without all the advertisements that you see on yard sticks.
So I decided to use plain strips of wood cut at different lengths. I sanded, stained and sealed each one to create a rustic look and feel. I know it looks like I used different stains on the wood, but I didn't. Each piece of wood took the color differently, a pleasant surprise!

Now the hard part...trying to organize and fit them all in place, It was like a puzzle nightmare! I was sorta regretting my design decision a this point. {'Oh Crystal, you've had better ideas than this', I thought over and over in my head!}

I didn't throw in the towel, and man oh man am I glad I didn't!


Once I had all of the strips in place, I painted the table bodies with Annie Sloan Old Ochre and Old White, heavily distressing and then sealed them with clear and dark wax. To finish off the look, I tossed the old hardware and updated it with some new chunky silver cup pulls.


A few more shots of the tables.


Despite the moments of doubt and frustration, I'm quite happy with how they turned out.

Well, that's all for today. I hope you have enjoyed this project makeover and I've inspired you to take on a leather top makeover of your own!


Sunday, August 23, 2015

Antique Chest of Drawers {Reggie}

Please allow me to introduce you to Reggie.

He's rich and sophisticated. He knows and embraces his assets and he highlights them naturally! He's sturdy and glides effortlessly on his beautiful roller feet.

He's every girl's dream.


So why do I call him Reggie? Well...when I was prepping this tall beauty, I found a letter carefully stowed under a drawer liner. The letter was to Reggie from a lady that had apparently made a romantic move on Reggie and was apologizing if her actions had caused problems between Reggie and his wife. There wasn't a date on the letter, so I don't know exactly how old it was, but the fact that Reggie had kept the letter all these years was intriguing. I love finding little nuggets like this inside the pieces I restore. 

Here are a few more pictures highlighting the beautiful wood grain, the new hardware and the birds eye maple drawers.


Thanks for looking at my guy Reggie!

Have a great Sunday!
~Crystal

Saturday, August 22, 2015

Hepplewhite Style Dresser Set

Couldn't have been happier when I found this set at local second hand store. Seems as though I've been getting many requests for dresser sets lately so I'm always on the look out! A quick cleaning and various repairs to the drawers and I would be on my way with this transformation. {various repairs to the drawers is sort of a lie...we rebuilt most all of them because their previous life was not so kind. But at least they were super clean so with a fair amount of glue, nails and clamps; they are as good as new}


This is a custom color...I created a medium cool grey by mixing Graphite and Paris Grey. The result is this very cool grey with some blue undertones. I love mixing Annie Sloan paints, creating my own color allows me to get the exact shade I'm looking for. 

I very lightly distressed these pieces and then sealed them both with clear wax. 


 All those drawers and all that storage are going to be perfect heading into winter! {room for lots of sweaters}


that sheen + original hardware =  show stoppers!


That's all for this morning, have a great weekend everyone!

~Crystal

Friday, August 14, 2015

Reclaimed Grainery Bench

A small, modest, and weathered grainery in Savage, Minnesota.


But not so fast, the wood that was reclaimed from the inside of this little building is jaw dropping.


This grainery building was constructed by a friend's father many years ago. What is extra special here is that the wood used to build the structure was made from lumber that was reclaimed previously from a local homestead.

Our friend entrusted us with some of the reclaimed boards to create a family keepsake. Of course we were honored and excited to get started.

When we were cleaning the boards, the layers of beautiful paint colors were reveled. Blue, red, yellow...it screams Americana! We also discovered lots of square nails in the boards which leads us to believe this lumber was probably close to 100 years old and quite amazing.

Here is the industrial bench that we created from those boards...


It was truly an honor to be able to create a bench for our friend and know that she is able to keep a piece of her family farm with her for many years to come!

~Crystal

Sunday, August 9, 2015

Driftwood Cedar Chest

When I started the makeover on this project I had a vision to create a warm driftwood look with layers of texture and depth. 


That was the vision...but actually getting there was more challenging than I thought. I went through every stage of the creative process...

image credit, www.bloglovin.com

It's a funny graphic, but sadly, it's all too true for most of my projects! Ha!

Anyhow, back to the Cedar Chest, here is how I accomplished the driftwood look:

First I gave the entire piece a real rough coat of ASCP Country Grey. By rough I mean not thorough and in a real whimsical fashion, imagine brush strokes in all different directions.

When that was dry, I waxed the entire piece with ASCP Dark Wax.

Then I washed the entire piece with ASCP Graphite and wiped the wash back leaving just a hint of the graphite.

I sanded a few spots, areas that would typically show wear and tear.

Finally, I waxed the entire piece again with dark wax and gave it a nice buffing to make the finish shine.

I went back and forth on whether or not I should paint the cute feet, but ultimately decided that leaving them natural and giving them a quick coat of dark wax to freshen them up would highlight them the best.


I'm smitten by the layers and texture that I achieved on this cedar chest. I guess the morale here is to keep pressing on when you have a vision and hopefully it all turns out just like you had hoped!

Thanks for stopping by!

Have a great week,
~Crystal

Saturday, August 8, 2015

Antique Buffet {Repurposed}

When we brought this buffet home I was thrilled at the find and thought I would do some quick cosmetic work and get painting.

Easy, right?

Not so quick, it wasn't going to be that easy!

To my surprise {and complete frustration}, the drawers that came with it were so badly damaged and warped that once I removed them...they were never ever going to go back into place! Even though I was disappointed that they weren't functioning {and that we failed to realize this before we purchased it}, this was still a really gorgeous piece with great bones so I needed to repurpose it and give it a new look! I've been down this road many times before and knew I had options. So without hesitation, I tossed the drawers and grabbed some wood and converted the spaces into some shelves.

I've staged it with some fun baskets that would be great for storing goodies, but you could also use this as a media stand or to store linens in a hallway.

I'm very pleased with the completed project, I hope you like it as much as I do!


Finished with Annie Sloan Chalk Paint, French Linen.

Thanks for taking a look! Enjoy your Sunday!